Discover the reasons why you need Emergency Evacuation Diagrams.
Emergency Evacuation Diagrams are compulsory for all workplace facilities under Australian Standards AS 3745-2010 Planning for emergencies in facilities.

Emergency Evacuation Diagrams should be easy to read and shouldn't be hard to understand or follow, helping occupants get to safety as quickly and safely as possible is the goal. Your business is open to liability if anyone is injured, or worse in a fire, it is your businesses responsibility to ensure these diagrams are in place and are kept up to date. Diagrams must be reviewed every five years.
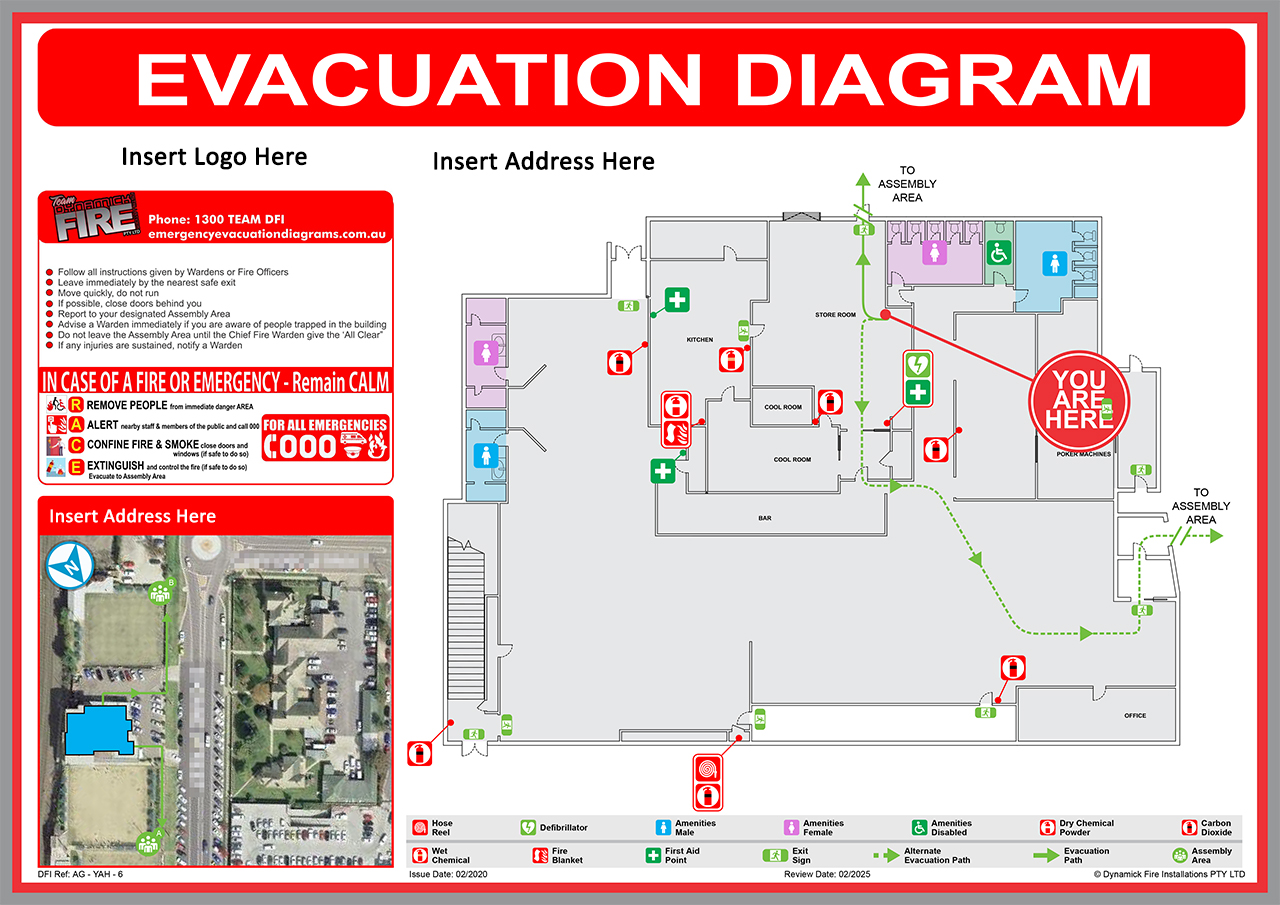
- Diagrams in A3 or A4 size and framed as required.
- Your Company Logo.
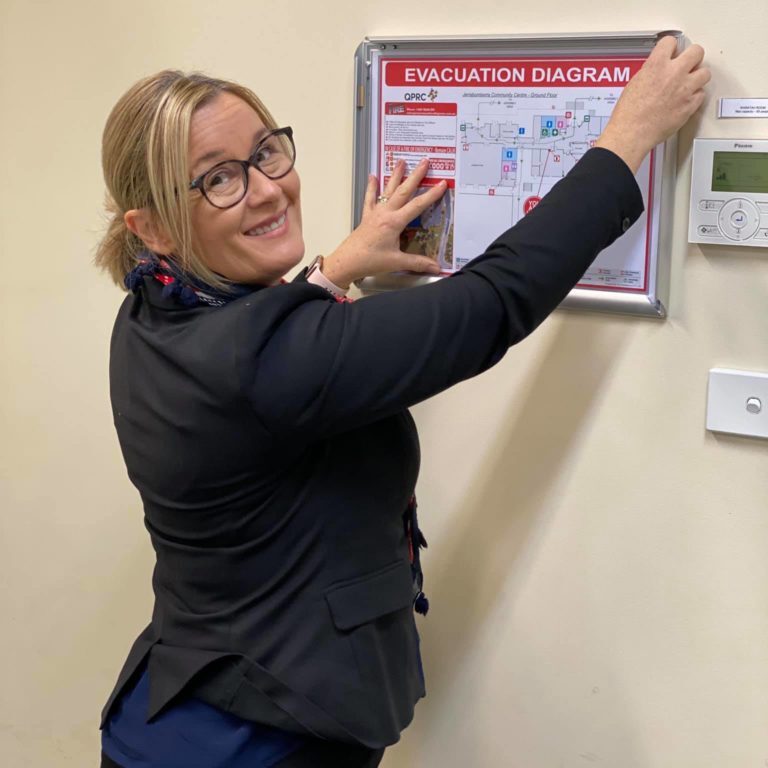
- Emergency Evacuation Diagrams are to be displayed at the correct height (no less than 1200mm and no more than 1600mm above the floor) and where occupants and visitors are able to view them.
- Each diagram shall have the correct orientation with regard to the direction of egress and its location to the "YOU ARE HERE" point. Where an assembly area diagram is included, it shall have the same orientation to the rest of the diagram.
- Locations of Firefighting Equipment.
- Designated assembly areas.
- Designated Emergency Exits.
- Including the RACE acronym.
- REMOVE PEOPLE from immediate danger area
- ALERT nearby staff & members of the public and call 000
- CONFINE FIRE & SMOKE close doors and windows (if safe to do so)
- EXTINGUISH and control the fire (if safe to do so)
- Evacuate to the Assembly Area

What we use to create Emergency Evacuation Diagrams.
Dynamick Fire Installations is proud to be a partner of Locatrix, who have helped us to greatly increase the efficiency of the services provided by EmergencyEvacuationDiagrams.com.au. Locatrix provides PlanStudio®, among other solutions in the Fire Safety sector.
PlanStudio® allows us to quickly produce Emergency Evacuation Diagrams to a high standard, quickly, usually ready to publish, print, and hang on the same day (depending on project size).
The Easy Process.
-
Step one
-
Step two
-
Step three
-
Step four
-
Step five


